Make A Pinhole Camera
A step-by-step guide to make your first camera and photographs
Why a pinhole camera?
You might feel modern photography is not fulfilling. Algorithms, social media and now A.I. slop have made photographs like much of our food: conformist, ultra-processed and lacking in substance.
Pinhole photography on the other hand, is a total rejection of all this: low-tech, independent and democratic. If you seek something to re-ignite passion and a sense of meaning into your photography, pinhole photography has something to offer.
Pinhole cameras are nothing more than a light-proof chamber with a hole, and a way to capture the imprint of light such as a film, photo paper or a digital sensor. They are incredibly simple and fascinating devices easily within you reach. Once you make one, you will be inspired to experiment with the many variables within your control, and embrace those that aren't. The purpose of this guide is to provide the essential steps in a simple and clear manner without unnecessary theory.
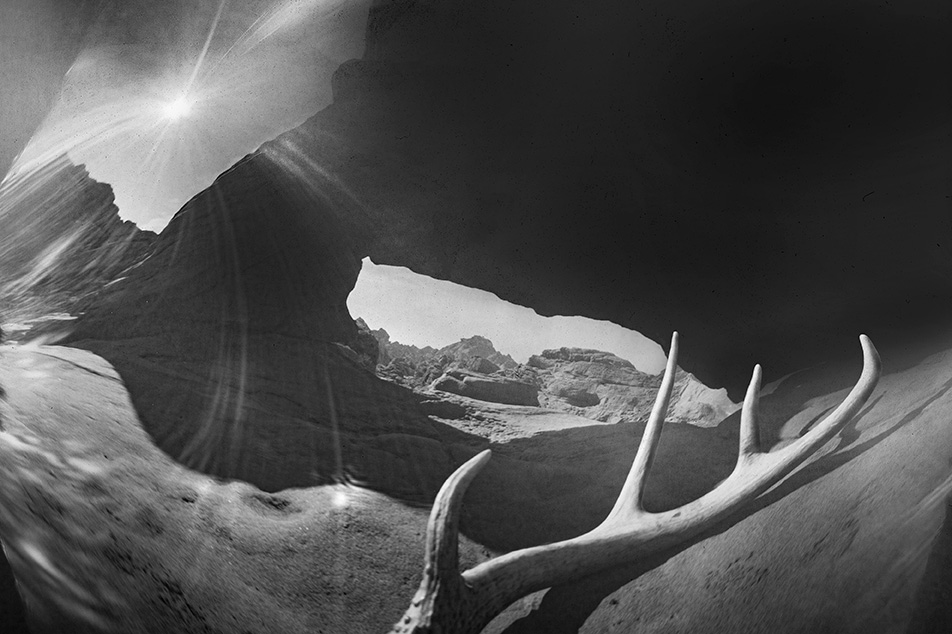
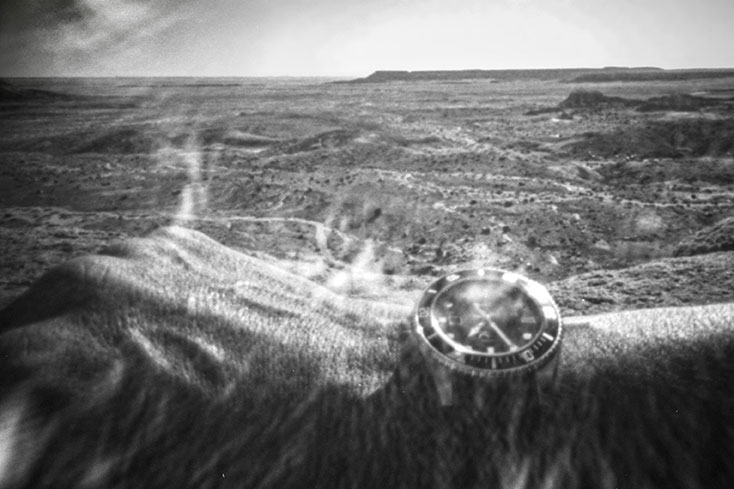
How a Pinhole Camera Sees Reality
Garry Winogrand famously said, "I photograph to find out what something will look like photographed." A pinhole camera is the ultimate window to see reality in a surprising way. The pinhole camera itself is a photographer. It does not show us the world as we see it. Instead, it provides a view that is seems from another dimension, a parallel universe just beyond the conscious. Pinhole images speak in a language that makes us ponder questions about our mortality, the immensity of space and time, the meanings of consciousness and existence.
Characteristics of a Pinhole Image
Near infinite depth-of-field: Because of the small apertures, everything from the smallest grain of sand to infinity will appear sharp. This is one of the most fascinating aspects of pinhole photography, and impossible to do with a lensed camera.
Extreme perspective and scale: Scale and distance become monumental, and you see a "worm's view" of the world. Most images will have a very wide angle view, without the barrel distortion from a lens.
Motion blur: Pinhole cameras can very long exposures due to the small aperture. This results in blur from moving objects, producing ghostly forms.
Unpredictable aberrations: Flares, light leaks, distortions and unexplained phenomena are often present in pinhole images, especially when you use paper negatives and homemade cameras. This is one of the greatest features, and the reason these images can have such a profound layers of meaning and interpretation.
Strong vignetting: Light falloff at the edges of the image can be very pronounced, darkening the image the farther from the middle it is.
Making A Tin Can Pinhole Camera With Paper Negative
A tea, coffee, oatmeal or any other type of metal or cardboard cylinder container is the best way to get into pinhole photography. Not only that, tin can pinhole cameras with paper negatives are by far my favorite. They cost virtually nothing and are made with readily-available materials. They do not require a completely dark darkroom. The large paper negatives are easy to develop, scan and store, and they truly embody the ethos of pinhole photography. The best reason I favor this type of camera however, is that they result in the most fascinating images, often due to the more “crude” construction. The vast majority of my favorite images have been made with the humble tin can pinhole camera with a paper negative.
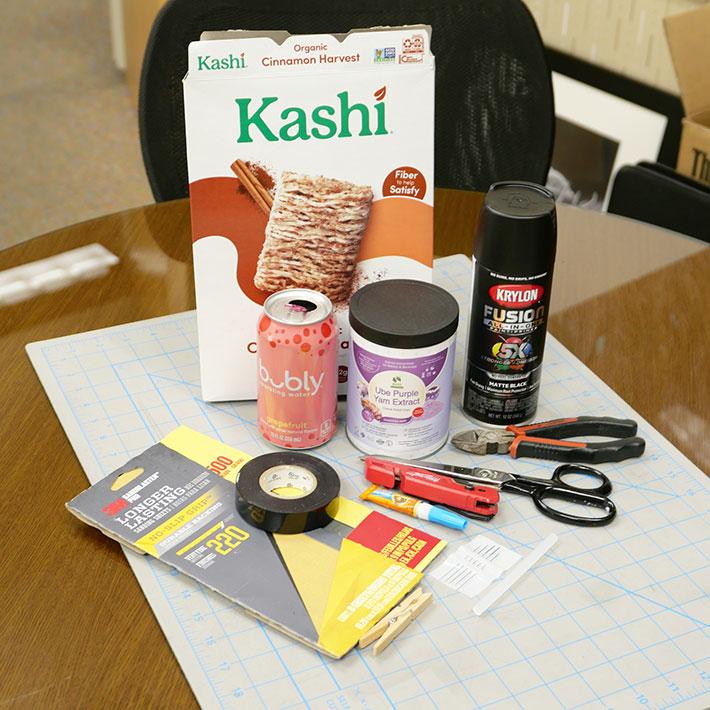
Materials You Need
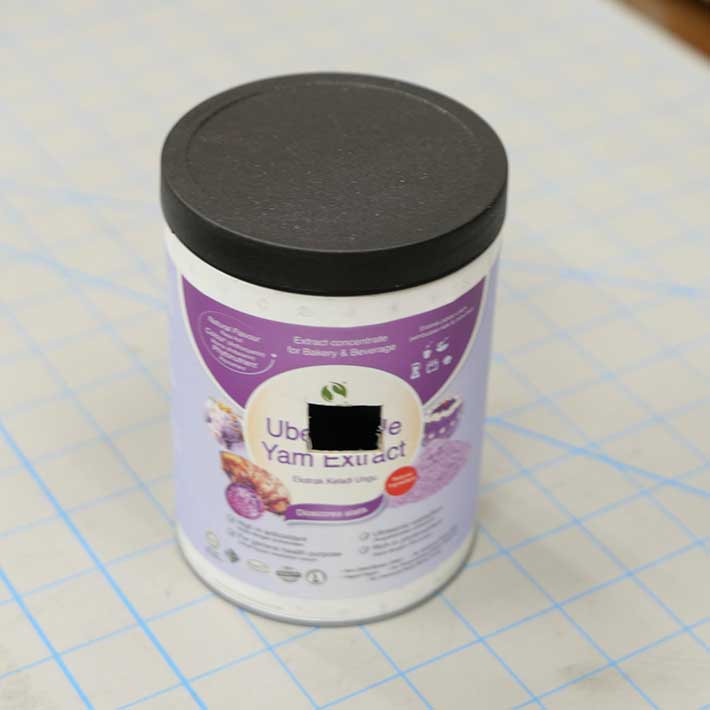
- Tin can: This can be any cylindrical container. Anything between 2.5 and 5 inches in diameter and a maximum height of 9 inches is ideal. Materials like metal and cardboard are preferred.
- Empty cereal box
- Aluminum soda can
- Matte Black spray
- Electrical tape
- Utility knife
- #12 sewing needle
- 1500 & 220 grit sandpaper
- Sharp scissors
- Super glue
- Wooden clothespin
Building The Camera
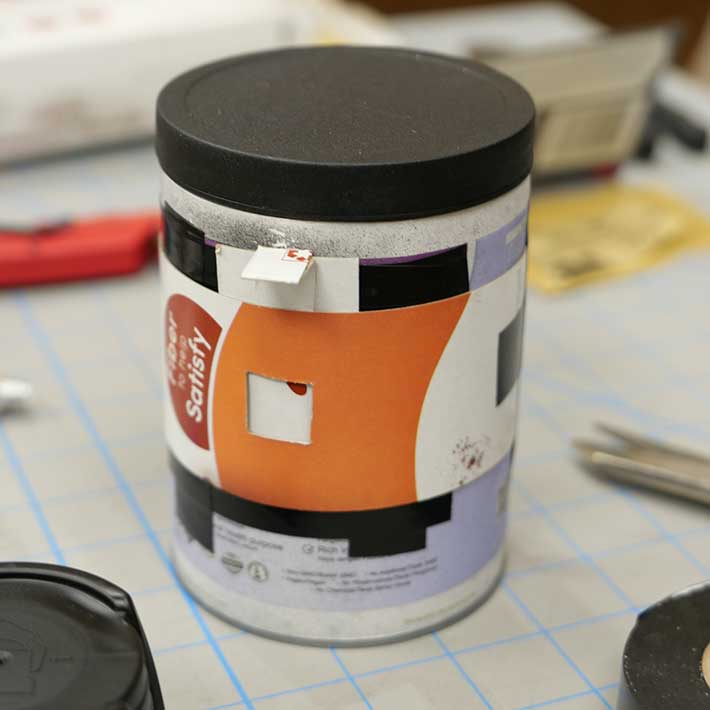
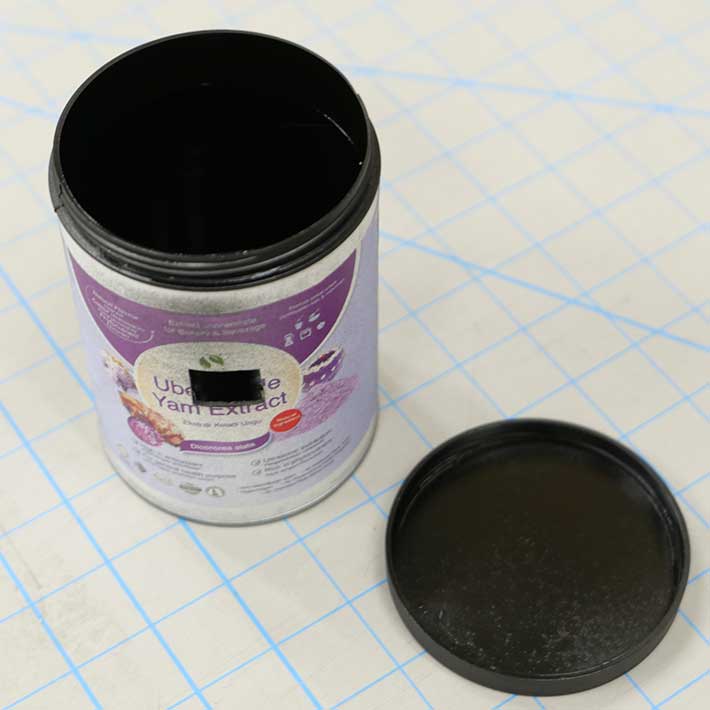
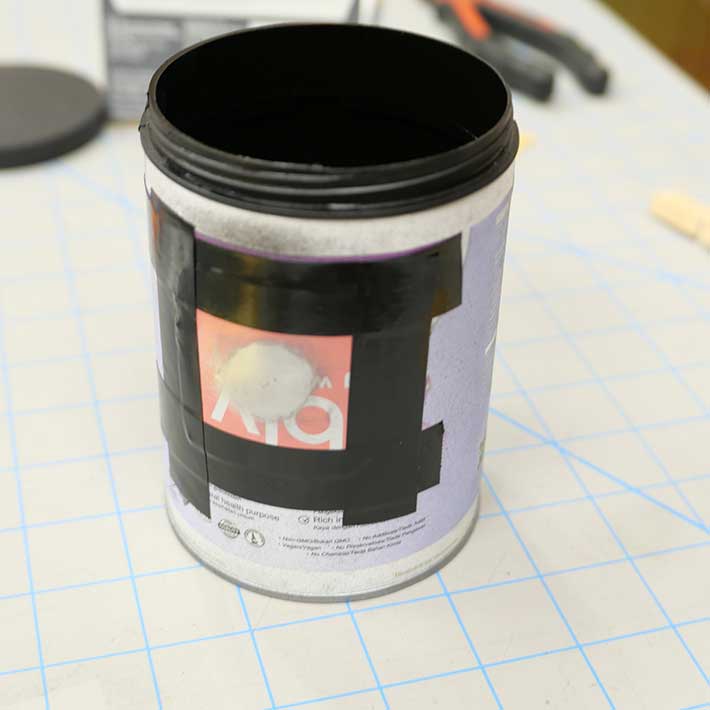
Step 1: Using the utility knife, cut a square hole about half-inch wide in the center of the container. This will be where the camera sees. If using a metal can, use a drill and a half-inch bit to cut a hole in it.
Step 2: Paint the interior with the black spray paint and allow to dry. This is to minimize any internal reflections.
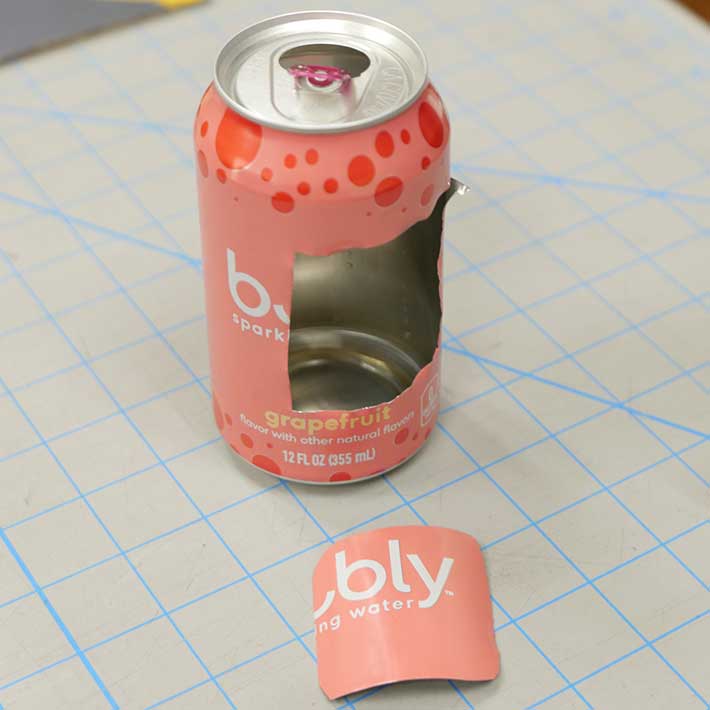
Step 3: Using scissors, cut a 2x2 in inch square piece of the soda can wall and round off the corners.
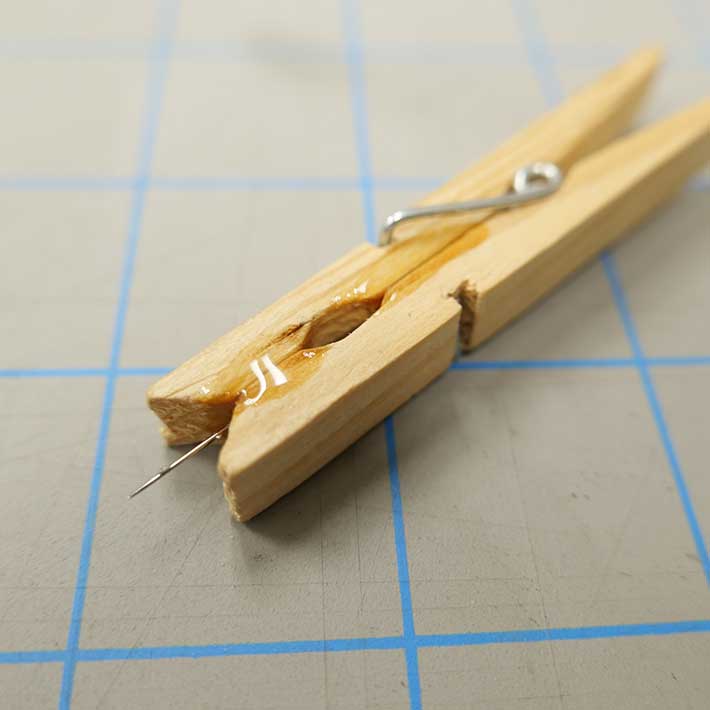
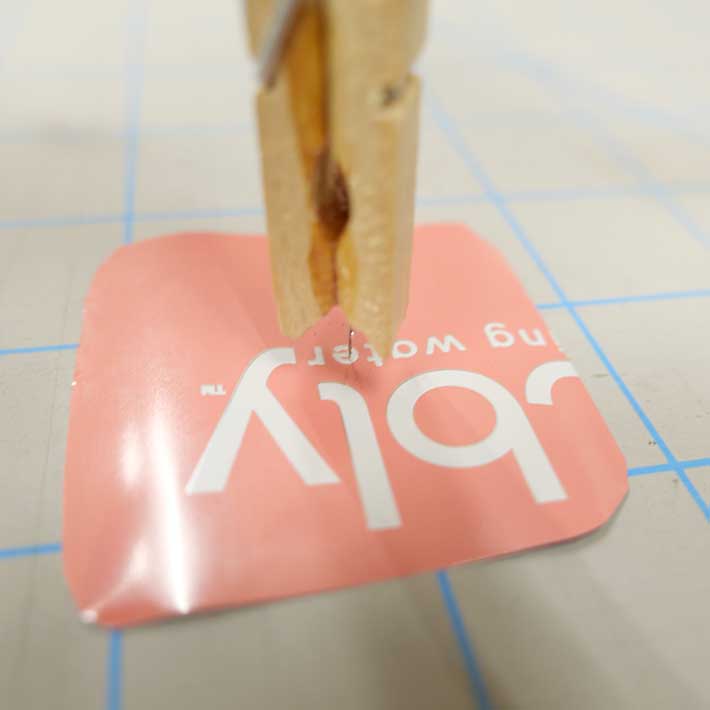
Step 4: Our next step is to use a needle to drill a tiny pinhole through the aluminum. Because we can't hold the needle with our fingers to do this, we will prepare a "drill" consisting of a clothespin with the needle glued in place. Place the needle so the clothespin grips it, leaving about a quarter inch of the needle portruding outwards. Liberally add super glue to ensure it all stays in place.
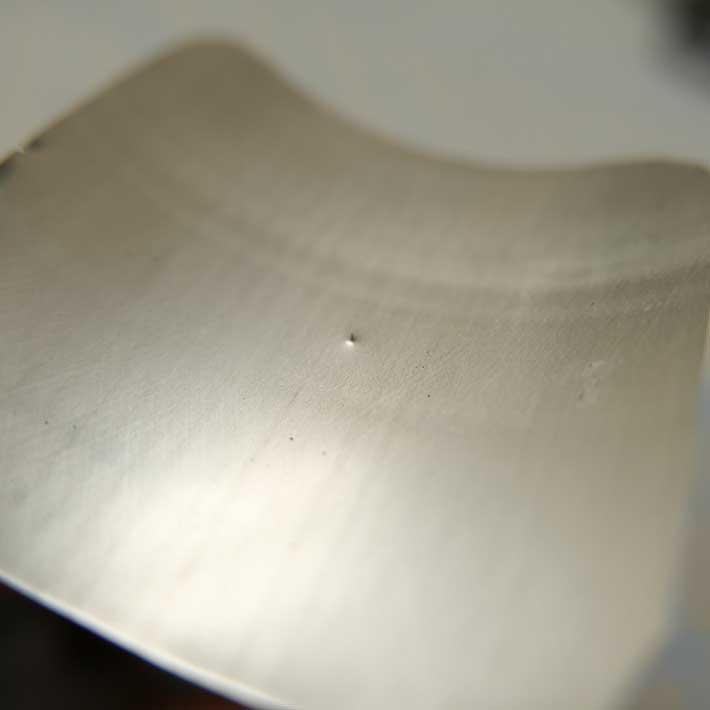
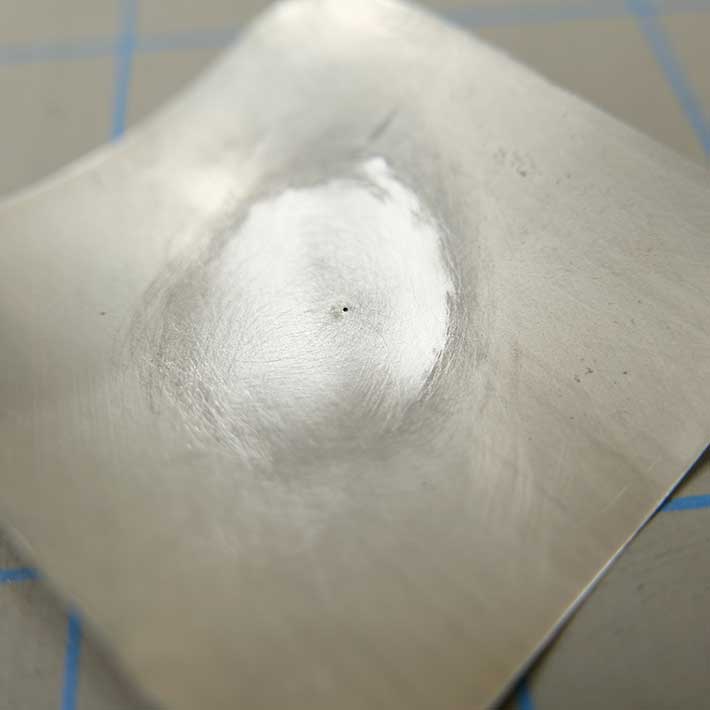
Step 5: Using the "drill" created in the previous step, create the pinhole. The important part is to do it slowly so the resulting hole is as round as possible. Poke the needle so just the beginning of the tip begins to emerge on the other side, and use the sandpaper to sand down the bump until it feels smooth. Begin with the 220 grit and move to the fine 1000 grit after. Do this several times as needed until the needle goes completely through.
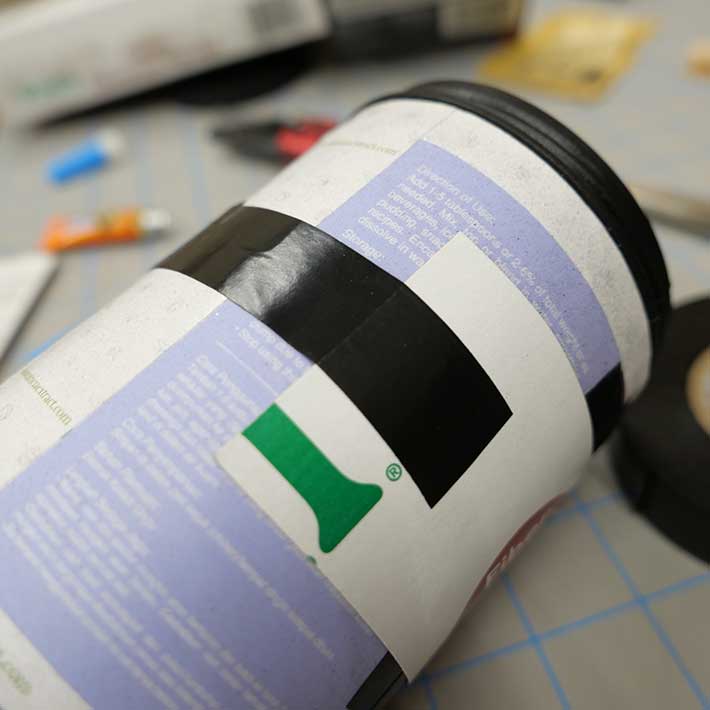
Step 6: Position your finished pinhole over the hole in the front of the camera, ensuring it's centered. Use black electrical tape to adhere it in place on all 4 sides.

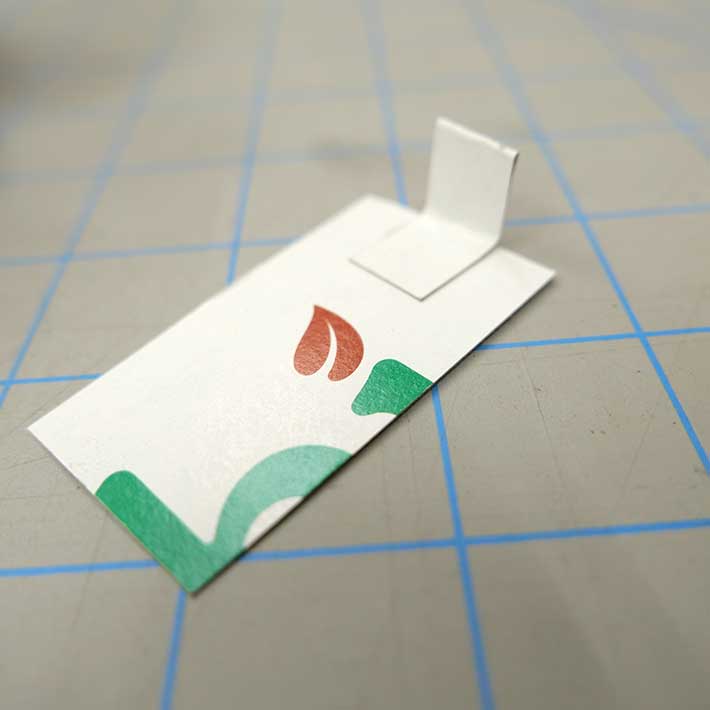
Step 7: To make the shutter, cut a rectangular piece of the cereal box cardboard around 2x1 inches. Cut a smaller piece of cardboard and fold it and glue it on the larger piece to form a tab. This will be where you grab the shutter to move it in and out of position.
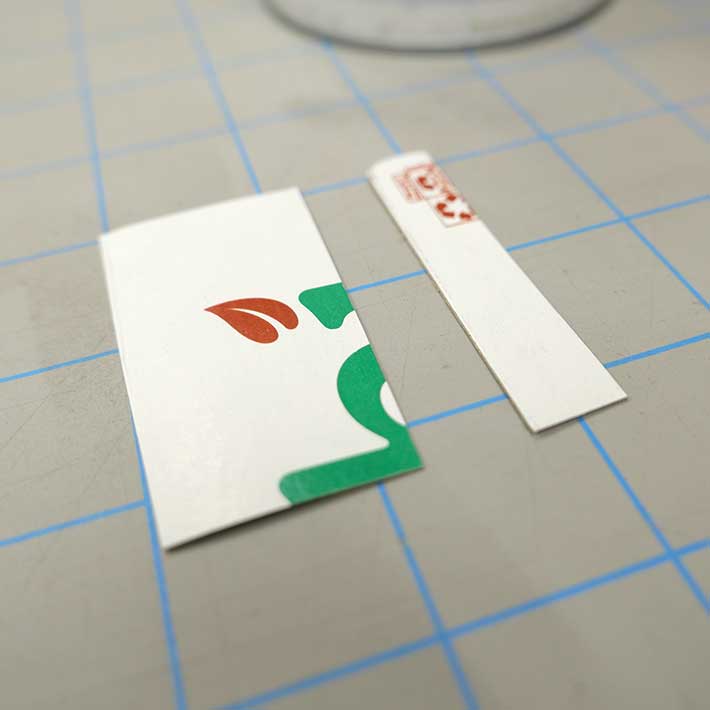
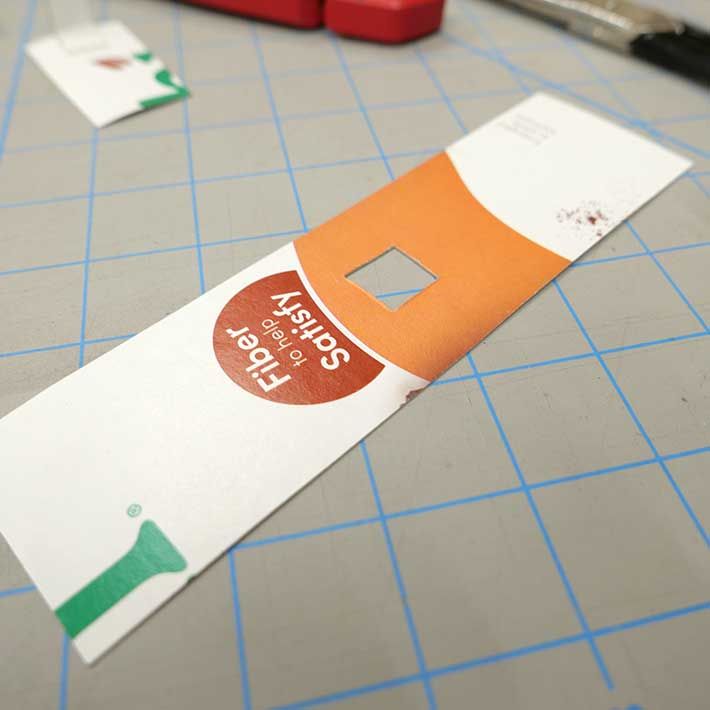
Step 8: In this step, we'll create the shutter holder. Cut a strip of cardboard around 2 inches wide and around 7 inches long. Using a utility knife, cut a square window in the center half inch wide.
Step 9: In the last step, position the shutter holder over the pinhole, ensuring the pinhole opening in centered in window. Slide in the shutter underneath, and tape the ends of the shutter holder on the ends, towards the back of the camera. It should be snug enough that the shutter stays in place, but not too tight you can't slide it in and out.
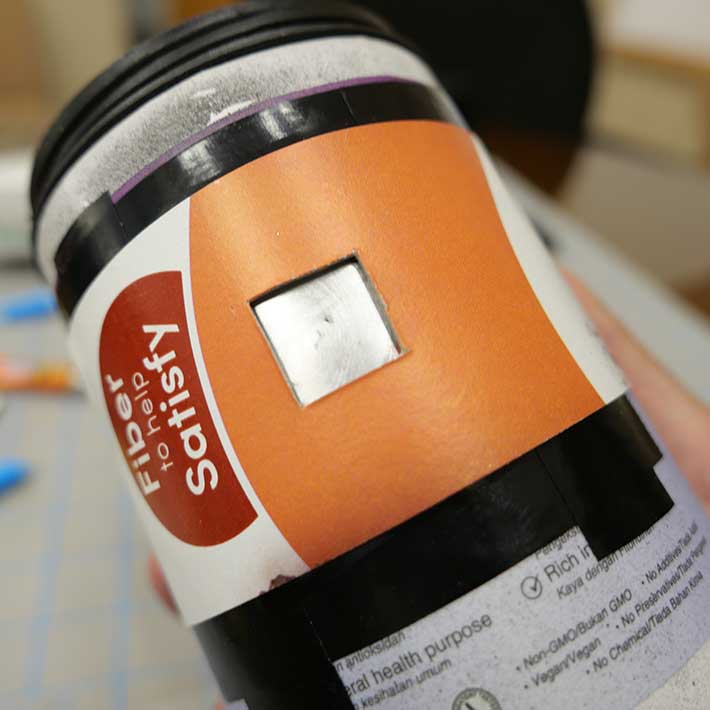
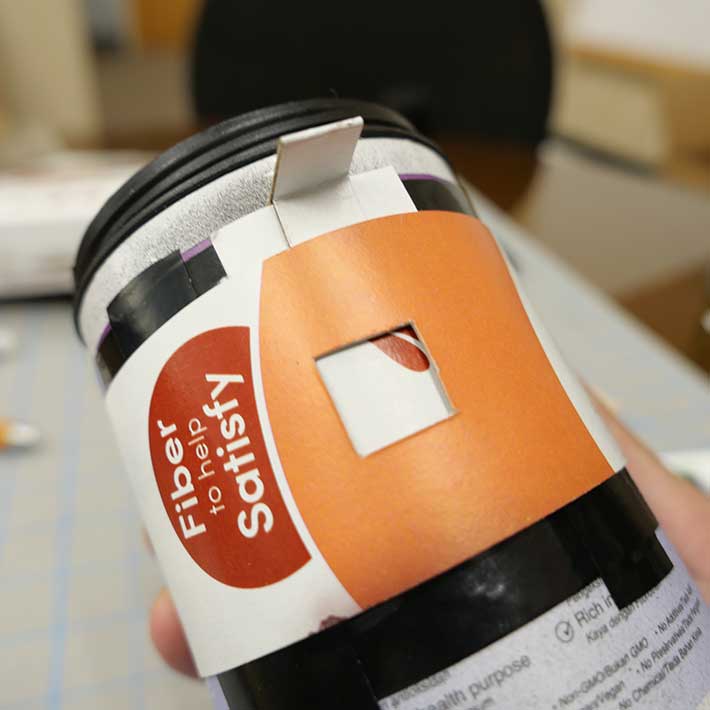
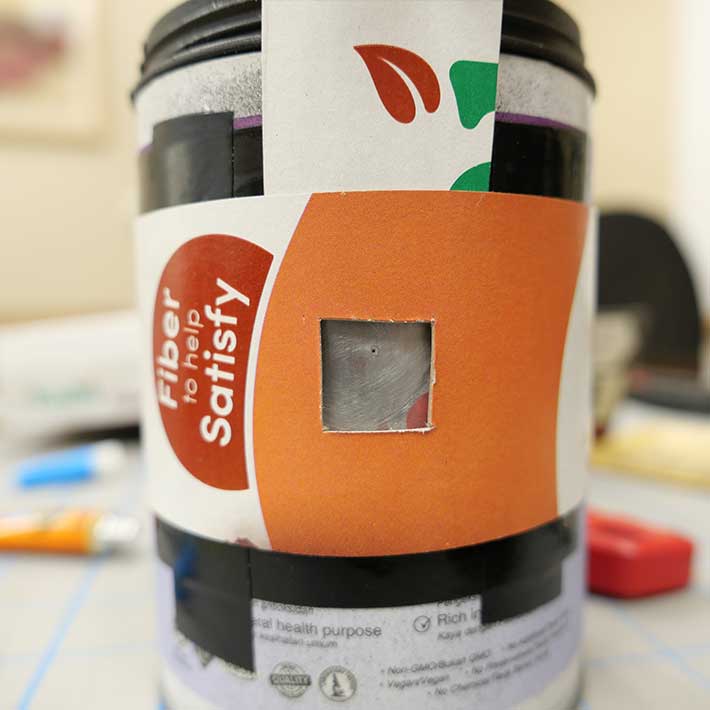
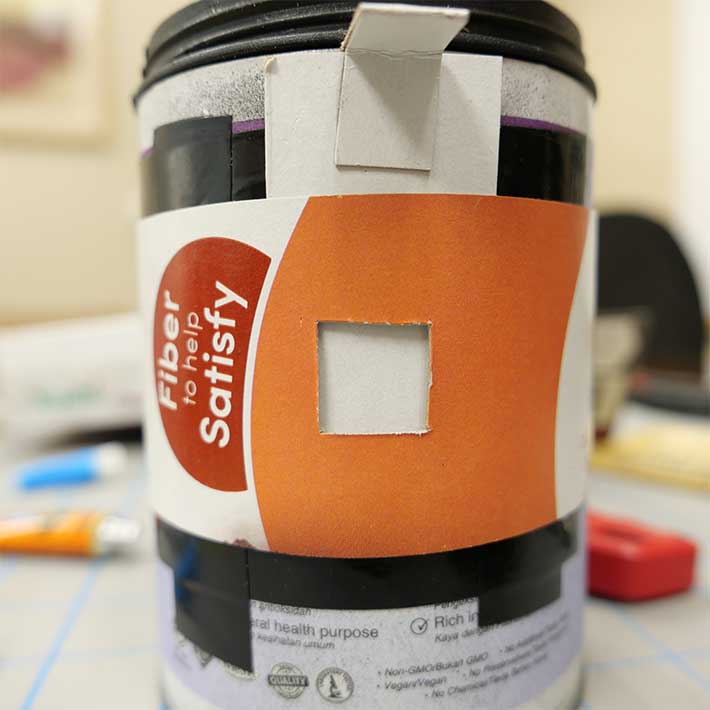
Step 10: The camera is now complete. The images below show the shutter open and closed. Do a final test to ensure yours is working propery. Now that everything is in place, it's time to make an exposure!
Next step: Exposing A Photograph
FAQ
- Can I use camera sizes larger or smaller than the examples here? Of course you can, however these sizes are ideal because of the pinhole size we are using, and allow reasonable exposure times. Use Mr. Pinhole to determine ideal focal lengths and pinhole diameters.
- Can I use square containers? Definitely. The round design is a good starting point because the paper sits snug, but you can place the negative flat inside a square container. Just use double-sided tape. This is where experimentation is up to you.
- Where did you obtain the exposure times for these cameras? There are many tools and guides out there on exposure times. I recommend exploring Mr. Pinhole.
- Where can I learn more?There are may books which are fantastic resources. The books by Eric Renner, John Evans and Brian Krummel are excellent and contain and endless wealth of information.